- 0086 13321818576 (Steven Lee)
- info@3c-floor.com
Many customers always ask me if I have installation instructions before buying floors. Today, I have prepared a simple installation instruction for you, hoping to help you.
Reminder: After installation, please maintain a suitable indoor temperature. Indoor temperature that is too high or too low may cause the product to expand or contract, thus affecting the quality of the floor or the experience of use.
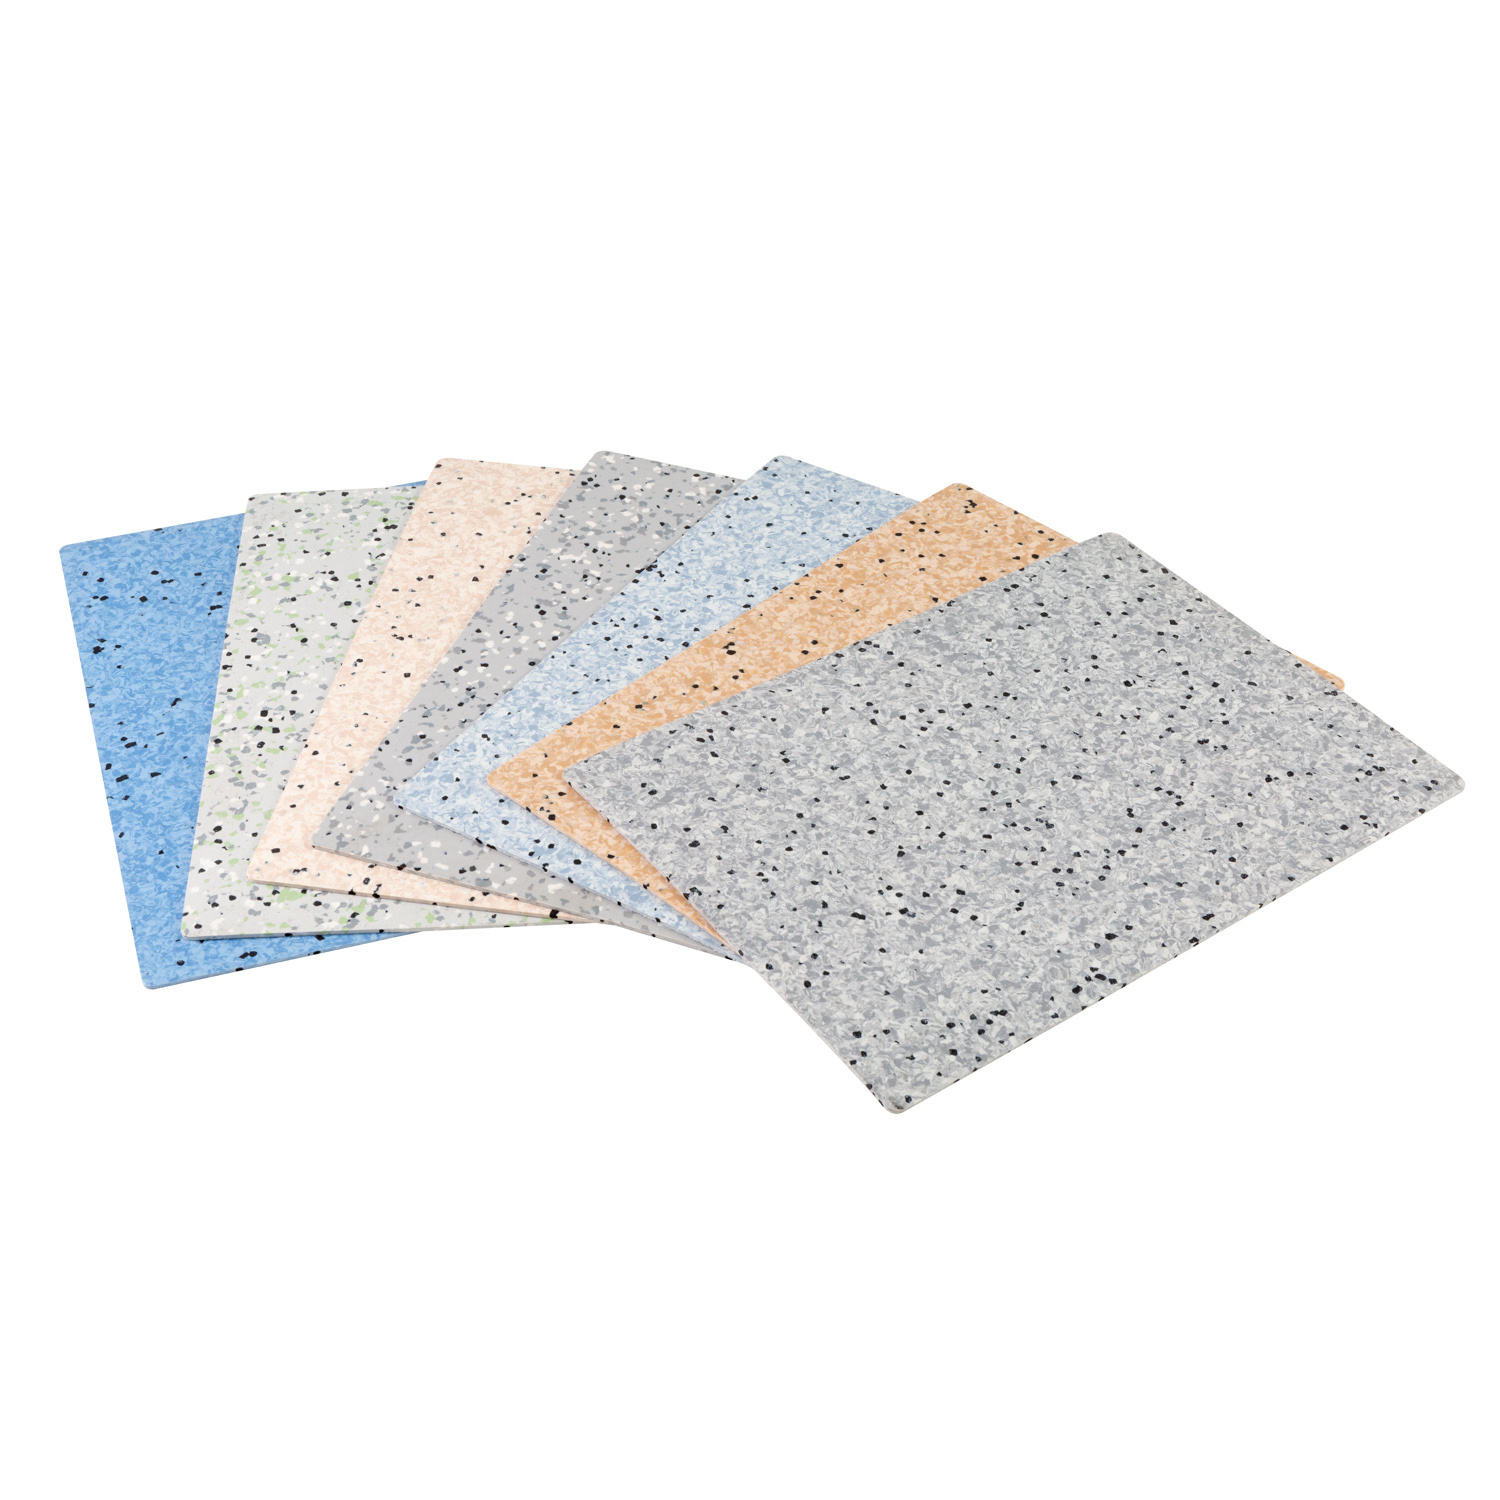
For best results, floors are usually selected from three different boxes, opened and matched to maintain color and texture coordination.
● Please calculate the paving area of the room before installation, and reserve 10% of the floor for cutting loss.
● It is very important for the floor to adapt to the environment before installation: keep the unopened floor at room temperature for at least 12 hours or more; installing the floor under extremely hot or cold indoor temperature will affect the installation and use quality of the product.
● If the floor installation area exceeds 400 square meters (that is, every 10 meters in any direction of length or width), it needs to be partitioned and connected by battens.
● Check the level standard of the ground before installation, measure it with a spirit level, the ground height difference standard within 2 meters must be less than 3mm (recommended ≤2mm), and there should be no debris on the ground.
● SPC crystal floor can not be directly used as a moisture-proof layer. This product must not be installed in saunas, outdoor areas and areas that have been immersed in water for a long time.
● If you want to install this floor on an existing wooden floor, it is recommended that you repair the existing floor before starting the installation to make it conform to the ground standard for stone crystal floor installation (the height difference within 2 meters of the ground must be less than 3mm (Recommended). ≤2mm)), any loose floor or squeak will affect your future use quality.
● When paving, you must always ensure that there is a 6-10mm gap between the wall and fixtures (such as pipes and pillars, stairs, etc.). After the floor is installed, these gaps will be covered with moldings. Tip: When installing around a pipe, drill a hole 20mm larger than the pipe diameter.
● Determine the installation direction of the floor. The length direction of the floor can be installed parallel to the direction in which the sun shines.
● Measure the area to be installed: the board width of the last row shall not be less than 50mm. If it is smaller than this size, please adjust the floor width of the first row to be installed. In case of narrow corridors, it is recommended to install the floor parallel to the length of the hall. Of course, this should be evaluated according to the overall effect.
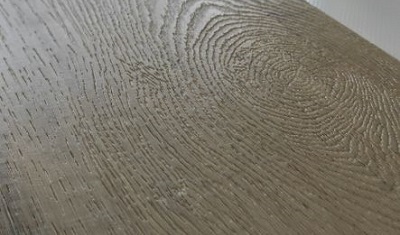
● Before installation, please check each floor one by one. After installation, any related customer complaints due to surface defects will not be accepted.
● This product is not suitable for electric heating. Installation under electric radiation and electric heating conditions is not covered by this warranty. The following instructions apply to using a plumbing system.
Floor surface temperature does not exceed 27 ℃. If it is a newly built floor heating system, turn on the plumbing system at maximum power and remove the moisture in the floor through it. Turn off underfloor heating at least 48 hours before installation. The floor is installed and the heating is gradually supplied. For additional guidance, see the relevant recommendations and requirements of the plumbing geothermal system manufacturer.
Tools and Supplies Needed
● Spacers ● Rubber Mallet ● Ruler ● Pencil ● Tape Measure ● Utility Knife

Spacer Rubber mallet Ruler Pencil Tape measure Multi-purpose knife
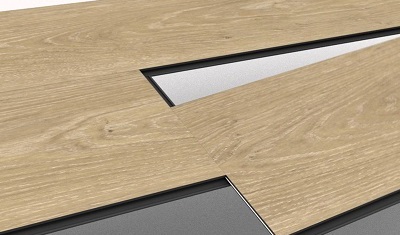
1. After the subfloor has been thoroughly cleaned, a moisture-proof floor mat is laid and sealed. The installation floor should be laid from left to right. Place the floor 6-10mm away from the left wall. Use spacers between walls and floors.
2. Lay the first row of the second floor. Lower the floor and use a rubber mallet to lightly depress one end so that it locks securely to the floor in front until they are all at the same height. Make sure the two floors are perfectly aligned. NOTE: If you find that the two floors are not at the same height or do not lock together well, follow the removal instructions at the bottom of the page to disassemble and inspect the inside of the latch for any debris jamming.
WARNING: Attempting to force installation without proper installation of floor joints or misaligned end joints may result in floor
The connector is permanently damaged.
3. At the end of the first row, leave a 6-10mm expansion gap in the wall and measure the length of the last floor.
1. To cut the floor, please use a utility knife and ruler, with the top side facing up, and make multiple cuts on the same axis. Then, with your other hand, lift half of the floor to press down on the second floor, very close to the cut, to split it.
2. Start the second row using the remaining cut from the last floor of the previous row. This small board should be at least 30 cm long. If not, use another cut, the joints of each adjacent row should not be less than 20 cm apart from each other.
6. Fasten the tenon of the floor to the tenon groove of the previous row at an angle of 30 degrees. Lower the floor and use a rubber mallet to gently press down on one end,
Lock it securely to the floor in front until they are all at the same height. Make sure the two floors are perfectly aligned.
Notice:
If you find that the two floors are not at the same height or do not lock together well, follow the disassembly instructions at the bottom of the page
Disassemble and inspect the inside of the lock for any debris clogged.
7. Friendly reminder
After completing the installation of each row, use the remaining floorboard from the previous installation against the floorboard of the previous row and tap lightly with a rubber mallet until the
They snap together tightly with a click, making sure there are no gaps between the long sides of each row.
1. After installing 2 to 3 rows, adjust the distance from the front wall by leaving an expansion gap. Always make sure that the end fittings are staggered by at least 20 cm.
9. Lay the last row: Lay the floor on top of the last row. Put another board on top, the floor tenon (i.e. the tongue
side) touching the wall. Draw a line along the edges of these boards to mark the first board. Cut along the edge of the board to mark
Note the first board. Cut along this line to get the desired width. Plug this cutting board into the wall. The last row should be at least
50m wide. The spacer can then be removed.
10. Pipe hole: measure the pipe diameter and drill a 20mm hole. Saw off a piece as shown and place the board on the floor
superior. Then place the sawn part in place.
11. Door frame: Use a saw and blade (facing down) to cut the door frame so the blade can slide underneath.
Maintainance
● Dust daily with a soft brush.
● If liquid leaks to the floor, it must be cleaned up in time.
● Use a wet mop as needed, a wax- or oil-free cleanser is recommended.
● Use appropriate floor protection, such as upholstery, under furniture.
● Use floor mats at the entrance.
● Do not use abrasive cleaners, bleach or wax to maintain floors.
● Do not drag or slide heavy objects on the floor.
disassemble
Gently lift the floor to disengage it from the front row, hold down the ends of the two floors, and slide horizontally in opposite directions
Move the ends of the two floors apart.
Any other questions, please freely contact with me as below:
Vera Luo
Tel: +86 13701754305
Email: vera@3c-floor.com