- 0086 13321818576 (Steven Lee)
- info@3c-floor.com
SPC flooring plank is popular because it combines waterproof rigid core construction, realistic wood visuals and fast click-lock installation. This guide explains how to install SPC flooring plank correctly — from subfloor preparation and acclimation to expansion gaps, cutting, locking, finishing and post-installation care.

Title: How to Install SPC Flooring Plank | Click Lock SPC Installation Guide | 3C-Floor
Meta Description: Learn how to install SPC flooring plank with 3C-Floor's professional click lock SPC flooring guide. Covers subfloor preparation, acclimation, expansion gaps, cutting, layout, finishing, maintenance and OEM SPC flooring options.
Keywords: how to install SPC flooring plank, SPC flooring installation, click lock SPC flooring, SPC flooring plank, waterproof SPC flooring, rigid core vinyl plank installation, SPC flooring supplier
URL: https://www.3c-floor.com/how-to-install-spc-flooring-plank.html
To install SPC flooring plank, keep the installation area clean, dry and stable, let the planks acclimate, check subfloor flatness, plan the layout, leave perimeter expansion gaps, click each plank together carefully, stagger short-end joints, cut the last row to fit, install trims without pinching the floor, and clean the surface after completion.
Remove loose debris, check the subfloor, measure the room, prepare tools and plan the plank direction before opening the first row.
Start from a straight wall, use spacers, connect short and long edges, and avoid forcing joints if the locking edge is not aligned.
Remove spacers, install skirting or trims to the wall, not through the floor, and keep the floating floor free to move.
SPC flooring is more dimensionally stable than many traditional vinyl or wood-based flooring products, but correct installation is still essential. A rigid core plank does not hide poor subfloor preparation. If the base is uneven, wet, dusty or unstable, the click-lock joint can experience stress, small gaps, noise, peaking or premature wear.
This is why 3C-Floor focuses not only on manufacturing waterproof SPC planks, but also on practical installation support for importers, flooring contractors, builders, retailers and project owners. A well-installed SPC floor should feel solid underfoot, stay visually aligned and maintain a clean perimeter finish throughout daily use.
Successful SPC plank installation starts before the first plank is clicked. Use this checklist to reduce installation problems and create a cleaner, more professional finish.
The right specification depends on the project environment, traffic level, acoustic requirement and buyer positioning. 3C-Floor can supply standard and customized SPC plank programs for distributors, retailers, contractors and commercial projects.
| Item | Typical 3C-Floor Options | Installation Relevance |
|---|---|---|
| Product Type | SPC rigid core vinyl plank / click lock SPC flooring | Suitable for floating click-lock installation in most residential and commercial interiors. |
| Core Material | Stone plastic composite rigid core | Provides dimensional stability and strong waterproof performance. |
| Thickness | 4.0mm / 4.5mm / 5.0mm / 6.0mm and customized constructions | Thicker products can improve underfoot feel and may support stronger locking profiles. |
| Wear Layer | 0.2mm / 0.3mm / 0.5mm / 0.7mm | Higher wear layers are recommended for commercial traffic and long-term use. |
| Plank Size | 1220×180mm, 1220×220mm, 914×152mm and OEM sizes | Plank dimension affects layout, cutting waste, room appearance and carton calculation. |
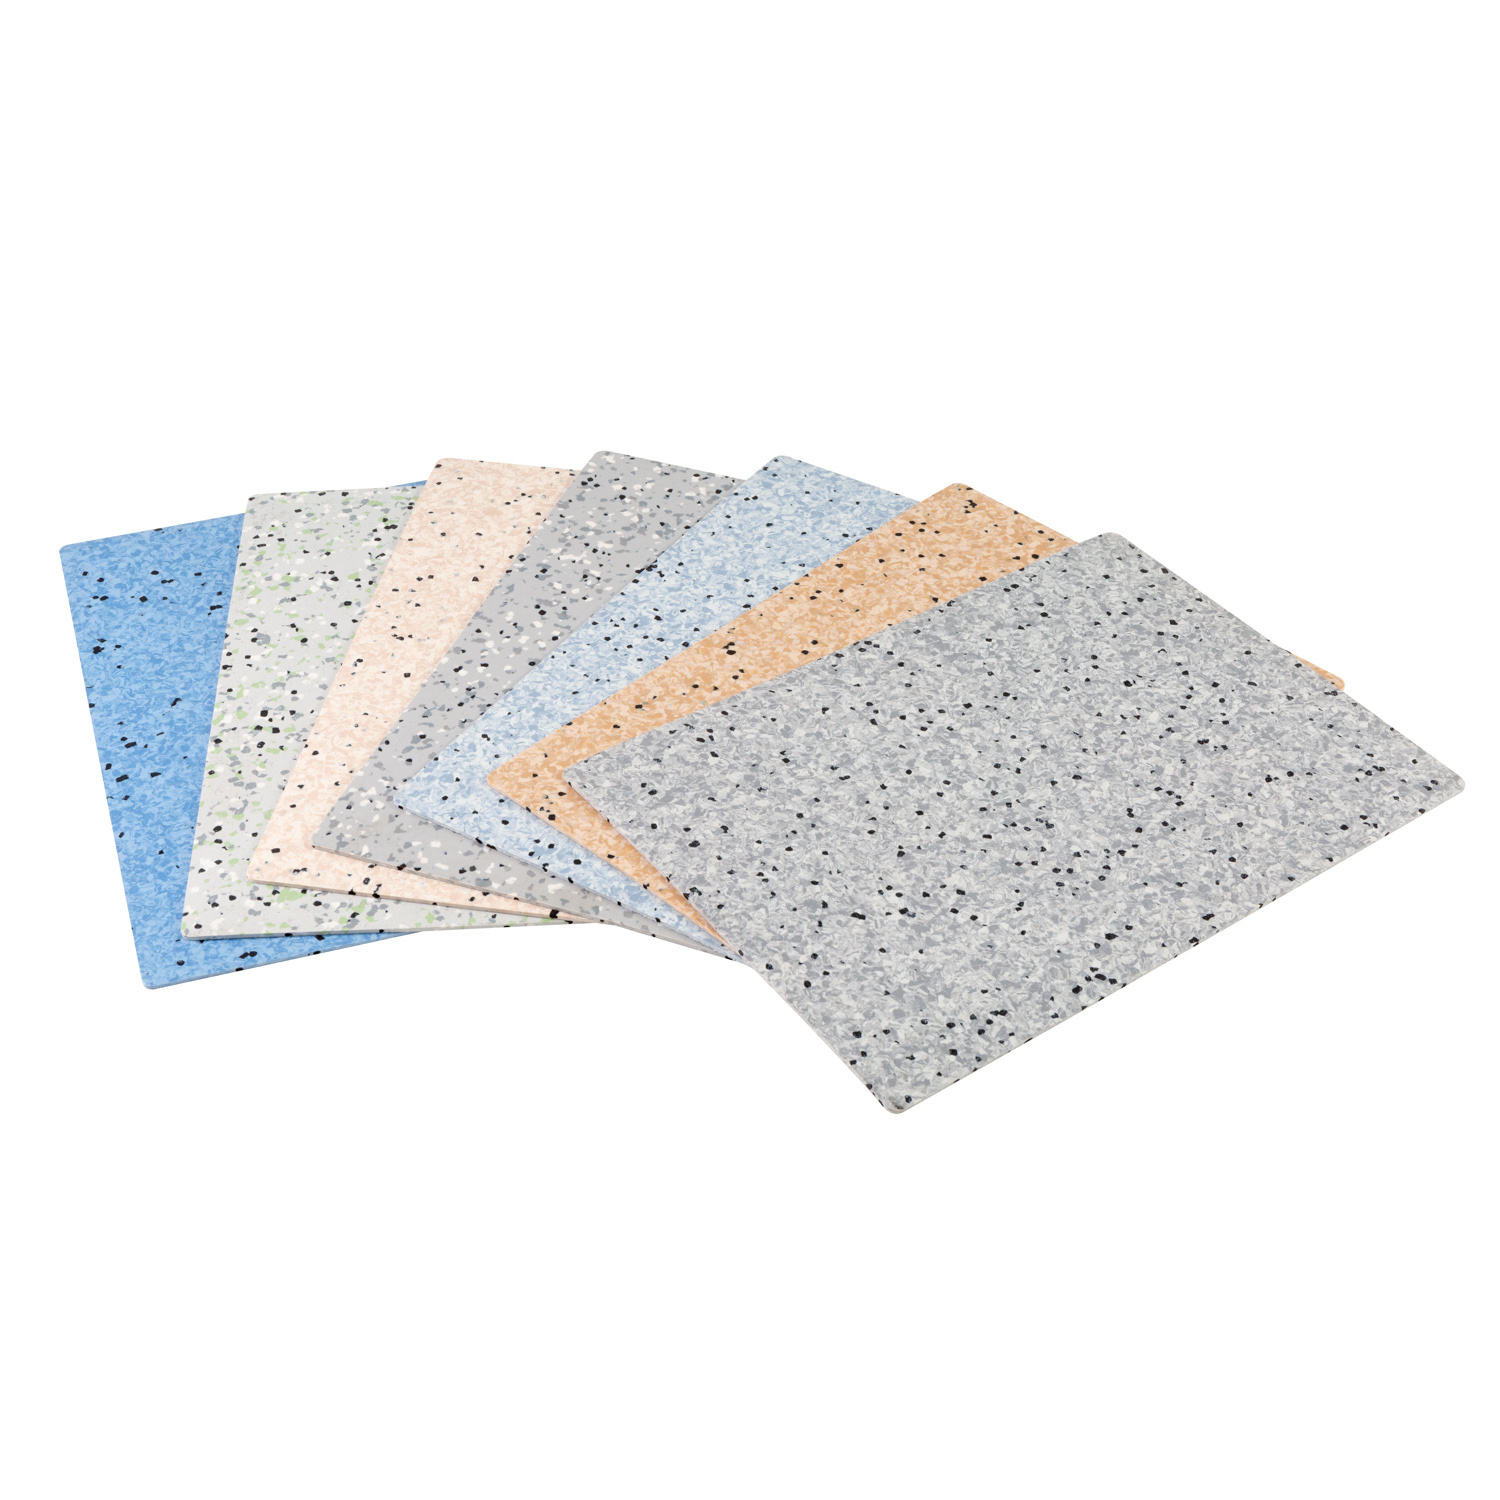
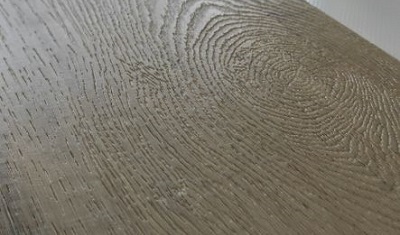
| Surface Finish | UV coating, matte, embossed, EIR wood grain, anti-slip texture | Surface selection affects scratch resistance, cleaning performance and interior style. |
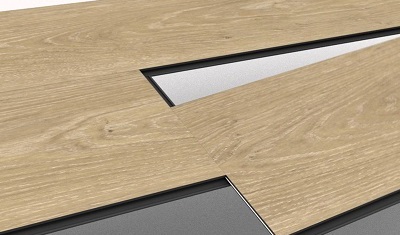
| Click System | Unilin, Valinge, I4F, drop click and project-specific locking options | Different click systems may require slightly different angle, drop or tapping techniques. |
| Backing | IXPE / EVA acoustic backing available | Improves walking comfort and sound reduction; avoid unapproved extra underlayment. |
| Applications | Homes, apartments, offices, hotels, retail stores, schools, healthcare and rental housing | Installation planning should consider traffic level, transitions, expansion zones and maintenance needs. |
3C-Floor supports OEM SPC flooring collections with custom colors, textures, wear layers, plank sizes, acoustic backing, carton design and export documentation. Send your target market, project area and performance requirements to receive suitable specifications.
The following installation process is designed for standard straight plank SPC click flooring. Always confirm the instruction sheet for the exact product, locking system and local project requirements before installation.
Check color, model, quantity, surface quality and locking edges before installing. Mix planks from several cartons to balance natural color variation and avoid visible pattern repetition. Once a plank is installed, it is usually considered accepted by the installer and project owner.
Place unopened cartons flat in the room where they will be installed. Keep the space under normal interior conditions and allow the flooring to adapt to the room environment according to the product instruction. This helps reduce stress during click-lock assembly.
Sweep, vacuum and remove all debris. The surface should be structurally sound and flat enough for rigid plank installation. Correct raised spots and fill low areas before laying the floor. For concrete slabs, check moisture conditions and install a suitable vapor barrier if required by the project environment.
In most rooms, planks look best when installed along the longest wall or parallel to the main light source. Measure the room width and calculate the final row. If the final row will be too narrow, trim the first row so the last row finishes with a balanced width.
Begin in a straight corner. Position the first plank with the appropriate edge facing the wall according to the click profile. Place spacers along the wall to maintain the required expansion gap. Keep the first row perfectly straight because later rows depend on this alignment.
Engage the short-end joint carefully. If the plank is not level with the previous plank, remove it and check for debris or misalignment. Do not force a joint that is not properly engaged, because damaged locking edges can lead to future gaps.
Use an off-cut from the previous row when it meets the minimum length requirement. Stagger short-end joints between rows to improve visual balance and joint performance. Connect the long side first, lower or tap into position according to the locking system, and check that the plank lies flat.
After every few rows, check the floor line with a straight edge or string line. Small alignment errors near the starting rows can become more visible across the room. Adjust early before the installation area becomes too large.
Measure carefully and mark cut lines with a pencil. SPC planks can often be scored with a utility knife and snapped, while detailed cuts may require a fine-tooth saw or jigsaw. Leave expansion space around pipes, columns, door frames and fixed vertical objects.
Measure the final row width, cut planks to fit and use a pull bar if needed. Remove spacers after the floor is complete. Install skirting boards, beading or transition trims so they cover the expansion gap without fastening through the SPC flooring plank.
Many installation problems are not caused by the SPC material itself, but by small mistakes during layout, subfloor preparation, underlayment selection or finishing. The following details are important for both DIY and professional projects.
| Detail | Recommended Practice | Why It Matters |
|---|---|---|
| Expansion gap | Keep a consistent perimeter gap around walls, pipes, columns, door frames and fixed objects. | SPC is stable, but floating floors still need movement space to avoid peaking or buckling. |
| Underlayment | Use only the backing or underlayment approved for the specific SPC plank. | Too much cushion can create bounce, joint stress and locking problems. |
| Subfloor flatness | Correct high spots and depressions before installation. | Rigid core planks may bridge uneven spots, stressing the click joint over time. |
| Pattern mixing | Open several cartons and distribute plank visuals across the floor. | This helps create a natural wood look and avoids repeated pattern blocks. |
| Doorway transition | Use transition profiles where movement is restricted or where different flooring types meet. | Transitions protect the floating floor and create a cleaner finish. |
| Fixed furniture | Install heavy cabinets and islands first, then fit SPC flooring around them. | Heavy fixed objects can prevent the floating floor from moving freely. |
| Underfloor heating | Confirm compatibility and control floor surface temperature according to manufacturer guidance. | Sudden or excessive heat may create movement stress in the locking system. |
| Post-installation cleaning | Sweep, vacuum and damp mop with a neutral cleaner. Avoid wax, polish and harsh chemicals. | Proper care protects the UV coating and keeps the floor easy to maintain. |
If you want the installed floor to remain stable, quiet and visually clean, avoid the following mistakes.
SPC is rigid, so it performs best on a flat and stable subfloor. If the floor has tile lippage, humps, deep grout lines or loose boards, repair the base before installation.
A correctly aligned click-lock joint should engage smoothly. If a plank does not sit flat, remove it, clean the locking edge and reinstall. Forcing the joint may permanently damage the profile.
A floating floor must not be trapped against walls, trims, pipes or cabinets. Maintain the required expansion gap and make sure trims are fixed to the wall or subfloor, not through the SPC plank.
Many SPC products already include IXPE or EVA backing. Adding an unapproved soft pad may create bounce, noise or joint movement. Always follow the product's underlayment instruction.
The first rows set the direction of the entire floor. Use spacers, check straightness and correct early alignment before continuing across the room.
If the final row is too narrow, it can look unprofessional and become difficult to lock. Measure first, then adjust the width of the starting row for a balanced layout.
3C-Floor supplies SPC flooring, WPC vinyl flooring, LVT flooring, PVC flooring rolls and related flooring materials for global markets. For buyers who need reliable SPC plank products, 3C-Floor provides product performance, OEM flexibility and practical project support.
SPC planks are engineered with a stone plastic composite core for waterproof performance, dimensional stability and durable daily use.
3C-Floor supports common click-lock systems such as Unilin, Valinge, I4F and drop click options for different product structures and market requirements.
Custom plank size, color, surface texture, backing, wear layer, carton design and branding can be developed for distributors and retailers.
Wear layer options are available for residential, light commercial and heavy commercial use, helping buyers match performance with budget.
3C-Floor supports global customers with product specifications, packing plans, sample coordination and shipping documentation.
SPC flooring plank is suitable for homes, hotels, offices, retail shops, apartments, schools and many renovation projects.
Explore more related pages to compare SPC structures, click-lock systems, waterproof performance and product options.
These frequently asked questions help homeowners, installers and flooring buyers understand the most important details before installing SPC flooring plank.
Yes, many click-lock SPC flooring planks are designed for DIY-friendly floating installation. However, the subfloor must be clean, dry, flat and stable. For large commercial areas, complex layouts or uncertain subfloor conditions, professional installation is recommended.
Standard click-lock SPC plank is usually installed as a floating floor without glue or nails. Some special project systems may use adhesive, but this should only be done when the product is designed for glue-down installation.
A perimeter expansion gap is required around walls, columns, pipes, door frames and fixed objects. The exact gap depends on the product specification and project conditions. Always follow the manufacturer's instruction and keep the floating floor free to move.
SPC flooring can often be installed over existing hard surfaces if they are flat, clean, dry and firmly bonded. High tile edges, deep grout lines or uneven areas should be corrected before installation to protect the click-lock joint.
Many SPC planks already have IXPE or EVA backing. Do not add extra underlayment unless it is approved for the specific product. Too much cushioning can create joint stress and movement.
Yes. SPC flooring has a waterproof rigid core, making it suitable for bathrooms, kitchens, laundry rooms and basements. Perimeter finishing and moisture control below the floor are still important.
Straight cuts can often be scored with a utility knife and snapped. Detailed cuts around door frames, vents and pipes may require a fine-tooth saw, jigsaw or hole saw. Always measure twice and keep the required expansion space.
Sweep or vacuum regularly and clean with a damp mop and neutral cleaner. Avoid wax, polish, abrasive pads and harsh chemicals. Use furniture pads and protect the floor from sharp objects or heavy dragging loads.
Contact 3C-Floor for waterproof click-lock SPC flooring, OEM plank collections, commercial specifications, sample support and export-ready flooring solutions.